Premiere Pro moves video without its audio
Find whether Linked Selection is off, a modifier selects one part, the audio track is locked, or the Timeline pair needs a link.
If a video clip moves while its audio stays behind, enable Linked Selection at the top left of the Timeline, then click the video with the Selection Tool (V) and no modifier keys. If its audio still does not highlight, check the audio track's lock and that pair's link.
In this guide
Adobe Premiere / Premiere Pro desktop on Windows and macOS, using the standard Timeline and Selection Tool. English menu names were checked against current Adobe desktop documentation. This covers selecting and moving existing Timeline clips; it does not diagnose missing source audio, growing playback drift, or separately recorded audio timing.
Check selection before dragging again
Save a project copy before moving or relinking clips. Work in a duplicate sequence: dragging a clip onto occupied space can change the edit.
Separate a Timeline setting from a clip relationship
Find one affected shot and one unaffected shot with their own audio. Click an empty area to clear the selection, then click each video normally. Watch which audio items highlight; there is no need to move anything yet.
| What highlights | What to investigate |
|---|---|
| Both parts after enabling Linked Selection | The selection mode was the obstacle |
| Both parts normally, but one with Alt or Option held | A temporary selection override |
| Only the video of one particular pair | Track protection, then that pair's link |
| Several unrelated items | Clear the selection and identify the intended pair before editing |
Adobe's selection guide documents the Timeline control and Alt-click on Windows / Option-click on macOS for selecting only one portion. Linked Selection allows a normal click to select an existing linked pair; it does not create a missing relationship.
Inspect the padlock at the left of the audio track too. A locked track cannot be modified; Adobe also shows diagonal slashes across it in the Track Lock guide. If that protection was intentional, leave it alone in the working sequence. In the duplicate sequence, unlock only the track you need for the comparison, then repeat the ordinary-click check.
If no audio item exists beneath the shot, follow the source-patching guide. Linking cannot supply audio that was never added.
Link only the matching, aligned clips
Before linking, play a recognizable event in that shot and confirm that the intended sound is aligned. Do not choose an audio item solely because it sits under the video or has a similar name.
- In the duplicate sequence, clear the selection.
- Shift-click the intended video and audio items.
- Choose Clip > Link.
- Clear the selection again, then click the video normally with Linked Selection enabled.
- Confirm that its intended audio now highlights too.
Adobe's linking instructions cover this relationship. Multi-audio links require compatible channel and track formats, with each audio clip on a separate track; already linked sets must be unlinked before making a new multi-clip link. Do not dismantle an unfamiliar multichannel edit just to make this simple-pair procedure fit.
A link does not repair bad timing
If the sound is already late, linking keeps the chosen items together without establishing where the correct recording belongs. For separately recorded sound, use Adobe's Timeline synchronization workflow, which has a separate Clip > Synchronize command. Review its result before linking the pair.
Different audio and video edges can also be intentional. Adobe's J- and L-cut guide explains those split edits. Compare speech with the shot itself rather than forcing every edge to match.
If an aligned pair still cannot be selected together, use the Community link in Adobe's selection guide. Include the Premiere version, whether ordinary and Alt/Option clicks differ, and a cropped Timeline view with private filenames removed.
Sources
Based on official documentation; not independently tested. Sources checked Oct 4, 2026. How we review guides
Something out of date? Let us know.
Related fixes
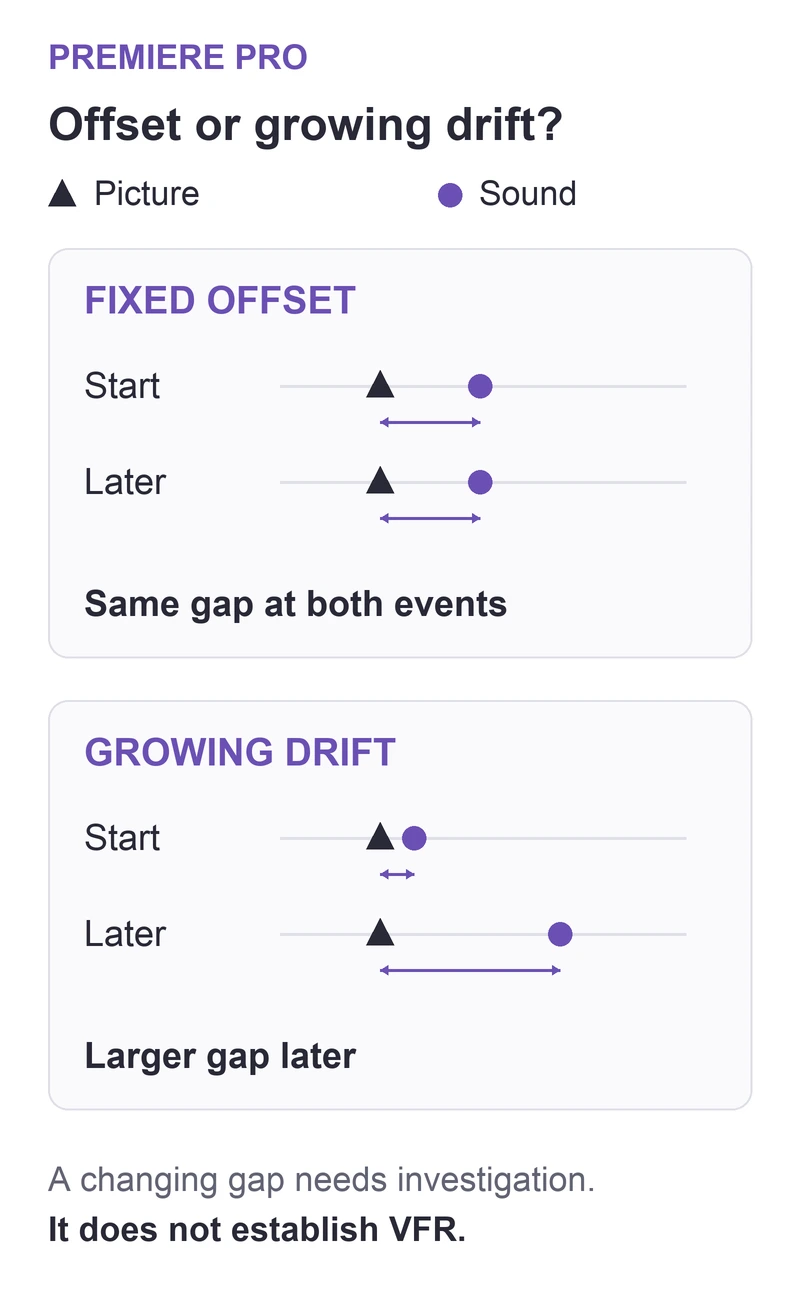
Premiere Pro audio drifts out of sync during a long clip
Distinguish growing sync drift from a fixed offset, check variable-frame-rate source settings, and compare a constant-frame-rate copy before replacing media.
 Premiere Pro
Premiere Pro exports proxy-quality footage
Check whether the export explicitly uses proxies, then confirm that each clip is connected to its full-resolution original.
Premiere Pro holds the wrong frame
Choose the exact source frame for a still hold, and understand why trimming the clip does not necessarily change the frozen image.