CapCut music will not fade out at the video ending
Check the selected audio clip, fade duration, other audible tracks, and export endpoint when CapCut music still ends abruptly.
On CapCut desktop, select the music clip on the timeline and inspect Basic > Fade out in the right panel. Then play across that audio clip's ending. A picture fade does not fade music, and an audio fade on one clip does not turn down the other sounds playing beside it.
In this guide
CapCut desktop on Windows/macOS with editable timeline audio and Basic fade controls. Panel placement and available tools may vary by release; this is not a mobile, web, or template-specific walkthrough. Covers audible music and its ending, not audio recovery.
Apply the fade to the sound that needs to end
Preserve the current edit before trimming or moving audio. Changing an audio clip's position can break synchronization; shortening it can remove a line or sound you still need. Note its current volume and fade duration so you can undo the comparison.
Make sure the selected item is audio
Click the actual music clip in the timeline, not its import-library thumbnail or the video above it. CapCut's desktop audio-fade walkthrough places Fade in and Fade out in the selected audio clip's Basic panel and describes adjusting their duration with a slider.
Leave the overall Volume setting unchanged for the first comparison. Lowering Volume reduces the clip generally; increasing Fade out duration should produce a gradual decrease toward its ending. Start playback before the fade interval so you can hear the level before and during the change.
If the selected video contains the sound but you need a separate editable audio item, CapCut's extraction guide documents right-clicking the desktop timeline video and choosing Extract audio. Do this only in a preserved working copy. Check that the resulting audio still aligns with the picture before adjusting it.
Compare the music ending with the delivery ending
Zoom into the last part of the timeline. Locate three points: the final picture you intend to deliver, the selected music clip's right edge, and the end of any marked export range. They need not be the same point.
| What you hear or see | Inspect next |
|---|---|
| Picture fades but music stays steady | Audio clip selection and its Fade out control |
| Music fades in the timeline, but the saved excerpt cuts off earlier | Export range endpoint versus the music ending |
| Selected music fades, but the mix remains loud | Other music, extracted audio, or video audio playing in that interval |
| The whole song is quieter from its start | Volume versus Fade out duration |
| Music is absent before the fade even begins | Mute, Volume, source sound, and playback device |
For an illustrative timing check, suppose the music clip ends at 00:40 and you intend to fade over its final two seconds. Listen from before 00:38 through 00:40. A delivery range ending at 00:35 does not include that intended fade interval. Changing its duration without comparing the endpoints can miss the real issue.
If the video should end at 00:35, work on the music's ending in the preserved copy rather than extending the delivery merely to include an unwanted tail. Recheck the fade after trimming. The timings depend on your edit; use the same comparison with your actual endpoints.
Listen to one sound, then the whole mix
Use the other clips' mute controls to compare the selected music alone, keeping a note of what you mute. CapCut's audio playback help distinguishes muted tracks and zero volume from source and device problems.
If the music fades alone, restore the other sounds one at a time. A second music clip or the original video's sound may be what remains audible. Decide which sound should end and which should continue; fading every track would also fade dialogue. Restore all temporary mutes before exporting.
Check a saved ending, not just the preview
Export an interval that includes sound before the fade and its full intended ending, under a new filename. Move the playhead to the intended start and press I, then to the end and press O. CapCut's range-export help documents these In and Out markers. Confirm the range before each export so a previous short selection does not become your final delivery.
Listen to the saved file outside CapCut. If the same isolated clip fades in preview but not in that export, use the support link in CapCut's audio help with the desktop version, fade duration, clip ending, export range, and whether another audio item overlaps. Keep private client audio out of the support example.
If sound is missing throughout, follow missing-sound checks. If no file is produced, use the export-failure guide.
Sources
Based on official documentation; not independently tested. Sources checked Oct 4, 2026. How we review guides
Something out of date? Let us know.
Related fixes
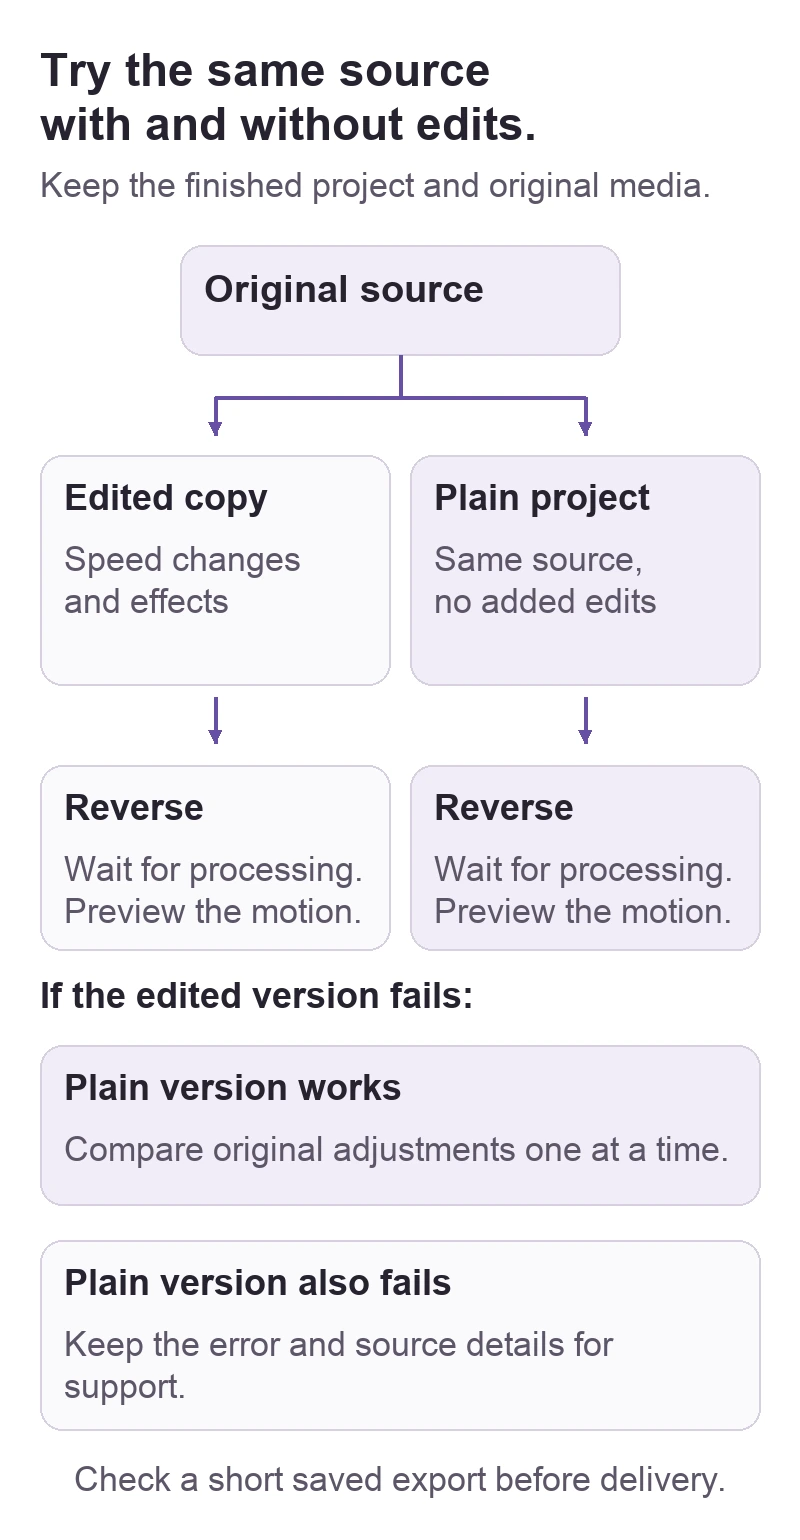
CapCut desktop cannot reverse a video clip
Check clip selection and completed processing, compare an untreated clip, and preserve the original edit before using a rendered copy to isolate a Reverse failure.
 CapCut
CapCut desktop does not show the keyframe controls
Select an editable timeline clip and inspect the parameter panel before replacing a template or rebuilding the project.
Fit a vertical CapCut video into a landscape frame without cutting it off
Keep the full portrait image inside a 16:9 project, fill the unused sides, and distinguish that layout from cropping to fill the screen.